Saturday, March 31, 2012

Crunchy Garbanzo Bean Snack

 Daniel's Aunt Joy made this tasty crunchy little snack at a party around Christmas time.  I decided to give it a try, and they are so good and healthy!

Simply rinse and pat dry with a towel or paper towel one 15-ounce can of garbanzo beans.  Spray a pan with olive oil and spread out the garbanzo beans, moving them around to get coated by the oil.  Then sprinkle on a little bit of salt, and seasoning to taste.  I added a pinch of cayenne pepper and cumin.  Bake at 425 degrees F for 35-45 minutes until crunchy.  Stir periodically throughout the baking time.  
I suppose you could do this with any kind of bean.  I'll have to experiment.  

Thursday, March 29, 2012

Tatting Progress

 Today my Aunt Lorraine gave me my second tatting lesson.  I learned how to chain, make picots, and make connections.  My Aunt drew out the pattern seen below, which is what I made in the picture above.  Now, I need to make this same pattern of rings and chains again and again for practice.  
Below are fun projects that my Aunt has been making.  I love the eggs!  

Wednesday, March 28, 2012

Relaxing Day Off

What a relaxing day I've had.  For lunch I picked up some falafel sandwiches and fries from Mr. Gyros.
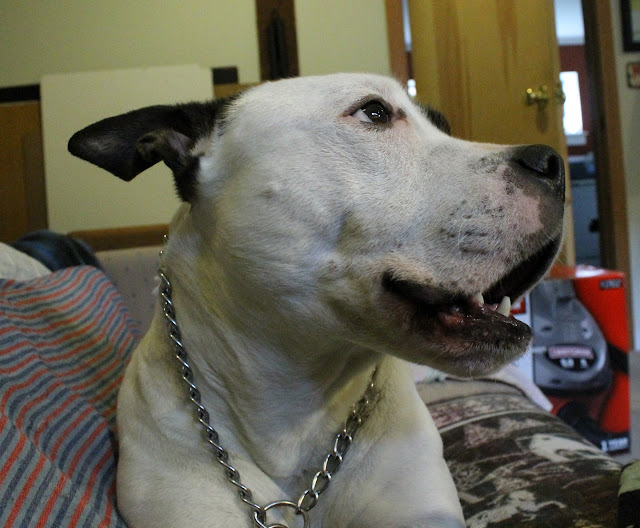
 McGuirk had a relaxing day too.  Check out this cute yawning sequence:
 Daniel worked on artwork for his show in May while I read for hours on the couch.  Ahh...life is good.   

Tuesday, March 27, 2012

In the Garden

These are some lovely plants in my mom's garden.
 I love the twisty bendy branches of her new contorted hazel.  

Monday, March 26, 2012

Mom's Crafty Jewelry Box

 My mom used balsa wood and a little bit of paint to make a plain ordinary box extraordinary.  
I love these flowers she made from pages of an old book. 
I'm trying to think of what I could organize in a sweet box like this...I might just have to make one myself.

Friday, March 23, 2012

Kale Chips

Last night I roasted some vegetables for dinner, including the ever so delightful kale seen below. 

 To make kale chips, simply coat the kale with some olive oil (I used some from a spray can) and sprinkle on some salt.  Then bake at 425 degrees F for around 20 minutes, turning the kale after the first 10 minutes.  
 They will shrink up quite a bit, and when you eat them they are as crisp as can be.  I can eat a whole pan of them myself!  They develop a nutty, rich flavor.  
I'm working this weekend.  Be back next week!

Thursday, March 22, 2012

Vegan Pumpkin Pancakes

Today was another pumpkin baking session.  I have to admit that today I am baked out, crafted out, photoed out, and all I want to do is sit and read, which I think I will do.  

My vegan pumpkin pancakes stuck to the pan because I was too lazy to wash the good pan.  I didn't have the right flipper, so they scrunched up when I tried to flip them.  Even with those pesky issues, these are delicious and healthy too!

I just modified my favorite pancake recipe:

1 cup soy milk
1 Tbsp vinegar
2 Tbsp oil
3/4 cup pureed pumpkin
1 cup whole wheat flour (or 1/2 c. flour, 3/4 c. oats)
1 Tbsp sugar
1 tsp baking powder
1/2 tsp baking soda
1/4 tsp salt
1/2 tsp cinnamon
1/2 tsp ginger
1/4 tsp nutmeg
1/4 tsp all spice
1/8 tsp cloves

Do not judge me by my pitiful looks.  I taste divine.  

Wednesday, March 21, 2012

Vegan Peanut Butter Oatmeal Cookies

 These cookies are insanely crumbly, but they taste really good.  I was wanting to make a vegan treat for my vegan week. 

I made these a while ago from a recipe I found online, and I no longer know the source.  I also added the oatmeal myself and cut down on the flour, so they are a bit different that the original. 

1 1/2 cup peanut butter
1/3 cup oil
3/4  cup sugar
1 1/4 cup flour
1 cup oats
1/2 tsp baking powder
1/4 tsp salt

Bake at 350 degrees Fahrenheit  for 10-12 minutes (When I baked mine for 15 minutes they were a little bit less crumbly.)


Monday, March 19, 2012

Finished Scrub Quilt

 Finito!  I like how it turned out.  
 I think McGuirk likes it too.

Sunday, March 18, 2012

DIY: Binding a Quilt (Part 2)

Step 1: Now you have an open space of about 10 inches with two 8-inch tails of binding on either side.  First, cut one tail about half the length of the open space:
 Step 2: Place the tail on the right over the tail on the left:
 Step 3: The tail on the right needs to overlap the tail on the left by 2 1/2 inches.  You can use an open piece of scrap binding to measure where you need to cut, or just use a ruler.  
 Step 4: (My mom is working on the opposite side of the quilt now.  So what I'm calling the right is actually on her left.)  Open the binding of the right tail, and have the right side of the fabric facing up:
 Step 5: Open the binding of the left tail and put right sides together exactly as seen below:
 Step 6: Sew the pieces together along the mark shown here.  It helps to pin the pieces together to secure.  After it is sewn, cut off the excess fabric triangles leaving a 1/4-inch of fabric near the seam.
 Step 7: When you fold the binding again and stretch it out along the quilt, it will fit in the open section of the edge.  Sew it down with the same 1/4-inch seam.
Step 8: I like this part.  Cut the excess batting and backing off using a rotary cutter or scissors.  
 Step 9: Now, simply fold the binding over onto the back of the quilt and sew it down by hand using little discrete stitches.  (The amount of binding on the back and front of the quilt should be about equal.)
 The corner on the back will look similar to this:
 Here is the corner from the front:

Saturday, March 17, 2012

DIY: Binding a Quilt (Part 1)

This is how I bind my quilts.  My mom taught me how to do it, of course.  (Look for part 2 later tomorrow.)

Step 1: Cut strips that are 2 1/2 inches wide.  Sew them together to make one long strip that will fit around the entire quilt.  
Step 2: Press all of the seams in one direction:
 Step 3: Fold the strip in half with right sides facing out and press:
 Step 4: Don't trim off the excess backing and batting yet.  It helps to stabilize everything while sewing on the binding.  Sew on the binding with a 1/4 inch seam through all layers, as seen below.  The fold is on the left and the raw edges are on the right in the photo.  IMPORTANT: Leave a free tail of binding that is around 8 inches long as you can see in the background of this photo: 
 Step 5: Back stitch when you are 1/4 inch away from the corner and cut the thread.
 Step 6: To make a mitered corner, fold the binding as seen below:
 Step 7: Then fold it back down on itself as seen here:
You will now be able to pinch the corner as seen below:
 Step 8: Where I am pointing is where you will begin sewing again.  It is approximately 1/4 inch down from the top edge.
 Step 9: Back stitch leaving about a 10-inch gap as seen here:  
Continue with PART 2 HERE.