Step 1: Now you have an open space of about 10 inches with two 8-inch tails of binding on either side. First, cut one tail about half the length of the open space:
Step 2: Place the tail on the right over the tail on the left:

Step 3: The tail on the right needs to overlap the tail on the left by 2 1/2 inches. You can use an open piece of scrap binding to measure where you need to cut, or just use a ruler.


Step 4: (My mom is working on the opposite side of the quilt now. So what I'm calling the right is actually on her left.) Open the binding of the right tail, and have the right side of the fabric facing up:

Step 5: Open the binding of the left tail and put right sides together exactly as seen below:

Step 6: Sew the pieces together along the mark shown here. It helps to pin the pieces together to secure. After it is sewn, cut off the excess fabric triangles leaving a 1/4-inch of fabric near the seam.

Step 7: When you fold the binding again and stretch it out along the quilt, it will fit in the open section of the edge. Sew it down with the same 1/4-inch seam.

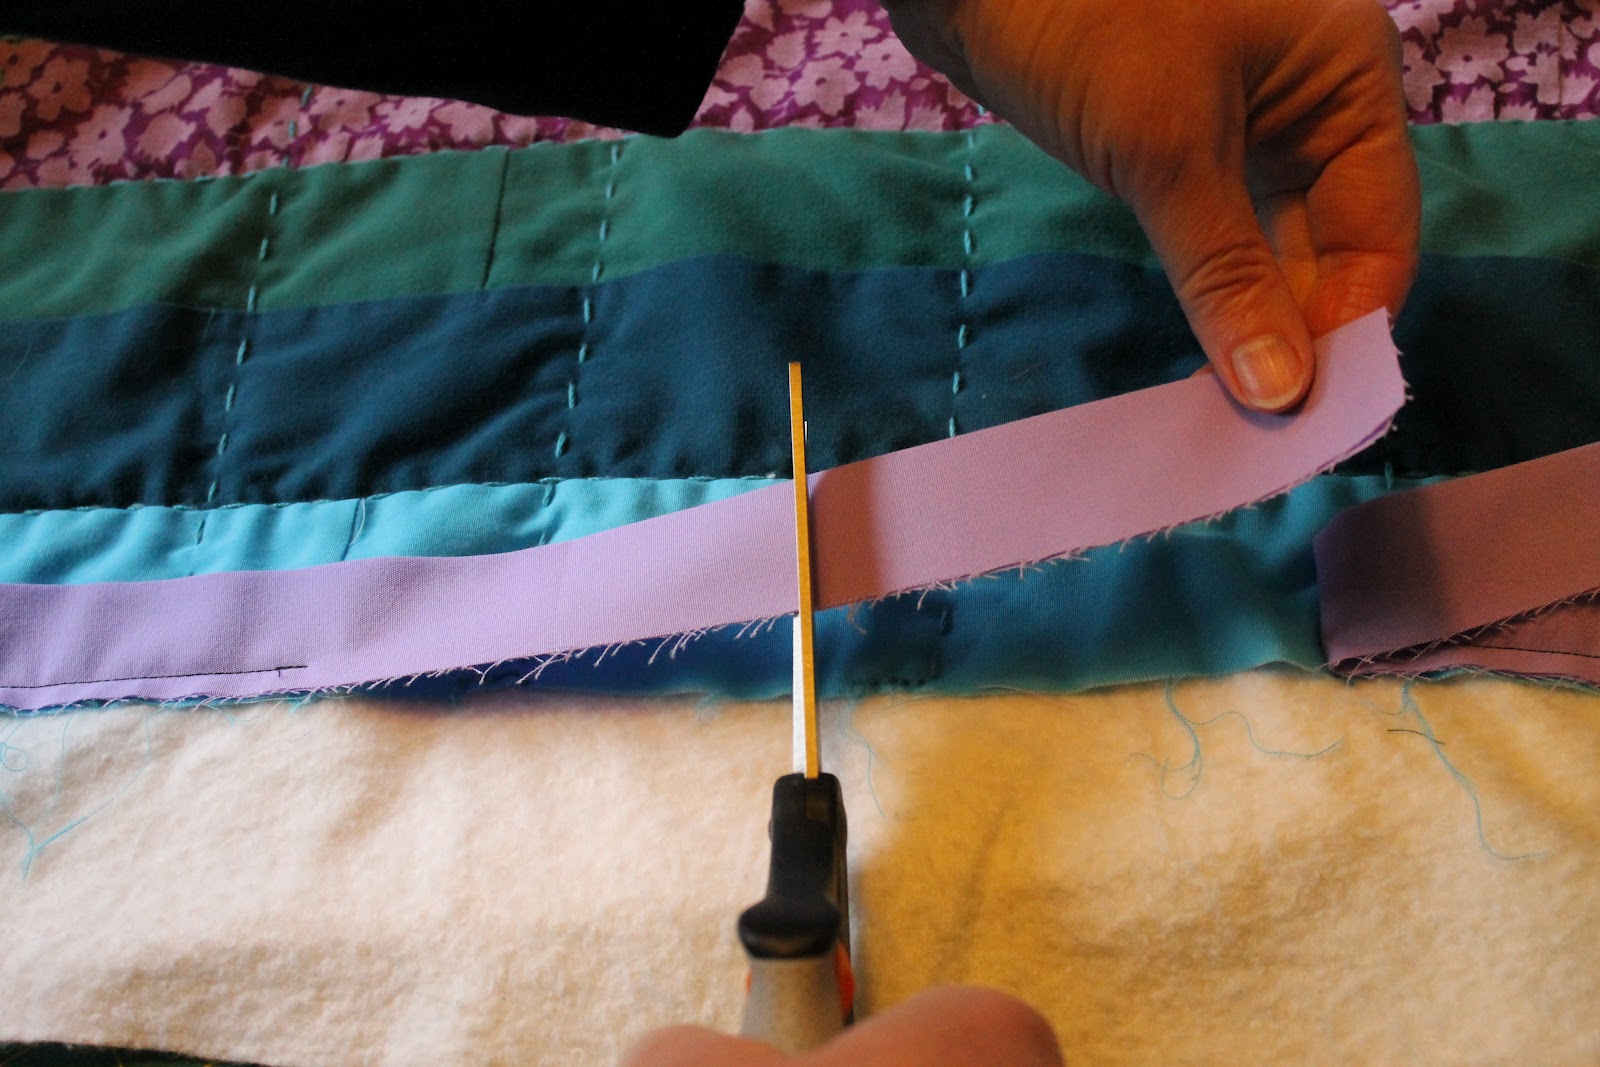
Step 8: I like this part. Cut the excess batting and backing off using a rotary cutter or scissors.

Step 9: Now, simply fold the binding over onto the back of the quilt and sew it down by hand using little discrete stitches. (The amount of binding on the back and front of the quilt should be about equal.)

The corner on the back will look similar to this:

Here is the corner from the front:

No comments:
Post a Comment